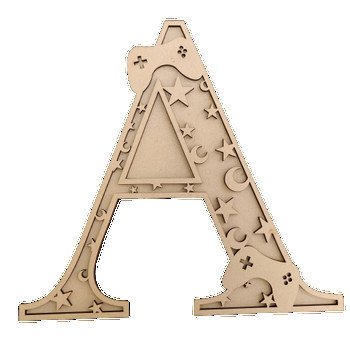
How to DIY MDF Monogram Letter at Home
Do you want to decorate the monogram letters in a well-polished manner? Are you looking for the easy steps to transform the plain MDF monogram letters or MDF name cutouts into something well-polished decor product? Well, if you also get the decorating kick to style your home, you can definitely count on us for that.
Recently, after browsing tons of designs, we have come up with a unique decorative way in this artistic tutorial gallery. You can try out the design on your custom name cutouts. Unlike acrylic name cutouts, MDF materials are not so glossy. So, to enhance the outlook of MDF letters, we will work on the easy DIY painting technique on these customized monogram letters.
So, without any further babbling, let us dive into the details of how to decorate the MDF monogram letters at home.

Materials you’ll Need to Decorate MDF Monogram Letter:
- MDF Monogram letter
- Bottle Green Acrylic Paint
- Printed Card stock
- varnish
- Foam Brushes
- Scissors/ cutter
- Painting Palette
- Pencil
Steps 1:
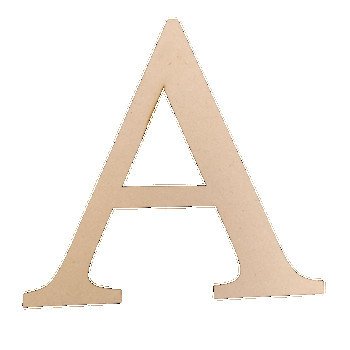
Take any MDF name cutouts or monogram letters of your choice. Set it on the table and start pouring the required acrylic paint on the painting palette. Here, we are using bottle green acrylic paint but you can go with any of the darker shades as per your choice.
Step 2:
Now, start painting the sides and edges of the letters with a foam brush. This is the best way to give proper finishing to your artwork. A foam brush will also help you to work swiftly.
Step 3:
Now the fun part begins! Here, we are using the sheet of 6x6 paper stack printed in hexagonal designs. You can also take personalized pictures, natural flower petals, or any of the designs you want to texturize on the monogram letters.
Step 4:
Place the letter on the top of the paper and trace the design with the help of a pencil. If you are not comfortable tracing the minor gaps, you can put the paper with the front side down and place the letter beneath the paper. Then feel the gaps and trace them carefully. While doing so, make sure to recheck if the design is perfectly drawn or not.
Step 5:
Once you are done, carefully cut the traced lines with a pair of scissors or a sharp cutter. This will result in a bit smaller cutout than actual letters so that your color at the edges will be visible clearly behind the paper.
But, if you want the letters a bit more than the actual letter, then cut inside the traced line.
Step 6:
Now apply the layer of varnish to the MDF monogram letter with a foam brush. Then stick the paper cutout on the letter and press down well. Make sure it is well secured with no bubbles on it. Then again apply the layer of varnish on the top of it.
Step 7:
The varnish will seem to be a white layer on the paper sheet but will turn transparent and clear once it gets dry. Clean up the edges to restrain the letter from dripping down the sides.
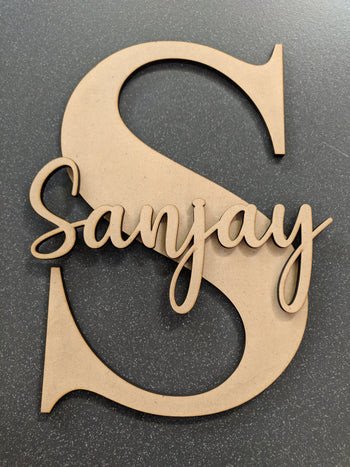
Your Customized MDF Monogram is ready to shine in your decor with glossy and dimensional finishing on it.
Wrapping Up:
MDF Monogram letters offer a personalized touch to your decors. They are available in many different styles, designs, and textures but the fun one can enjoy in the creativity is only in MDF name cutouts. You can get your favorite design from Hobby India online craft store and customize them with your interior. You can also gift them to your loved ones and your efforts will make their precious day more enchanting.